
'No sew’ tutorials suggest using an adhesive of
some kind – I’m not keen on using hot glue as it’s messy and, erm, hot, but this
non-sticky paper adhesive is great especially if you’re not confident at sewing.
If you go ahead and buy Heat n Bond, be careful when you open
the packaging – don’t just rip it open like I did as the instructions on how to
use it are on there! Just snip the top off :)
Here is just one idea for its use:
Customised Canvas Bag
For this diy, you will need...
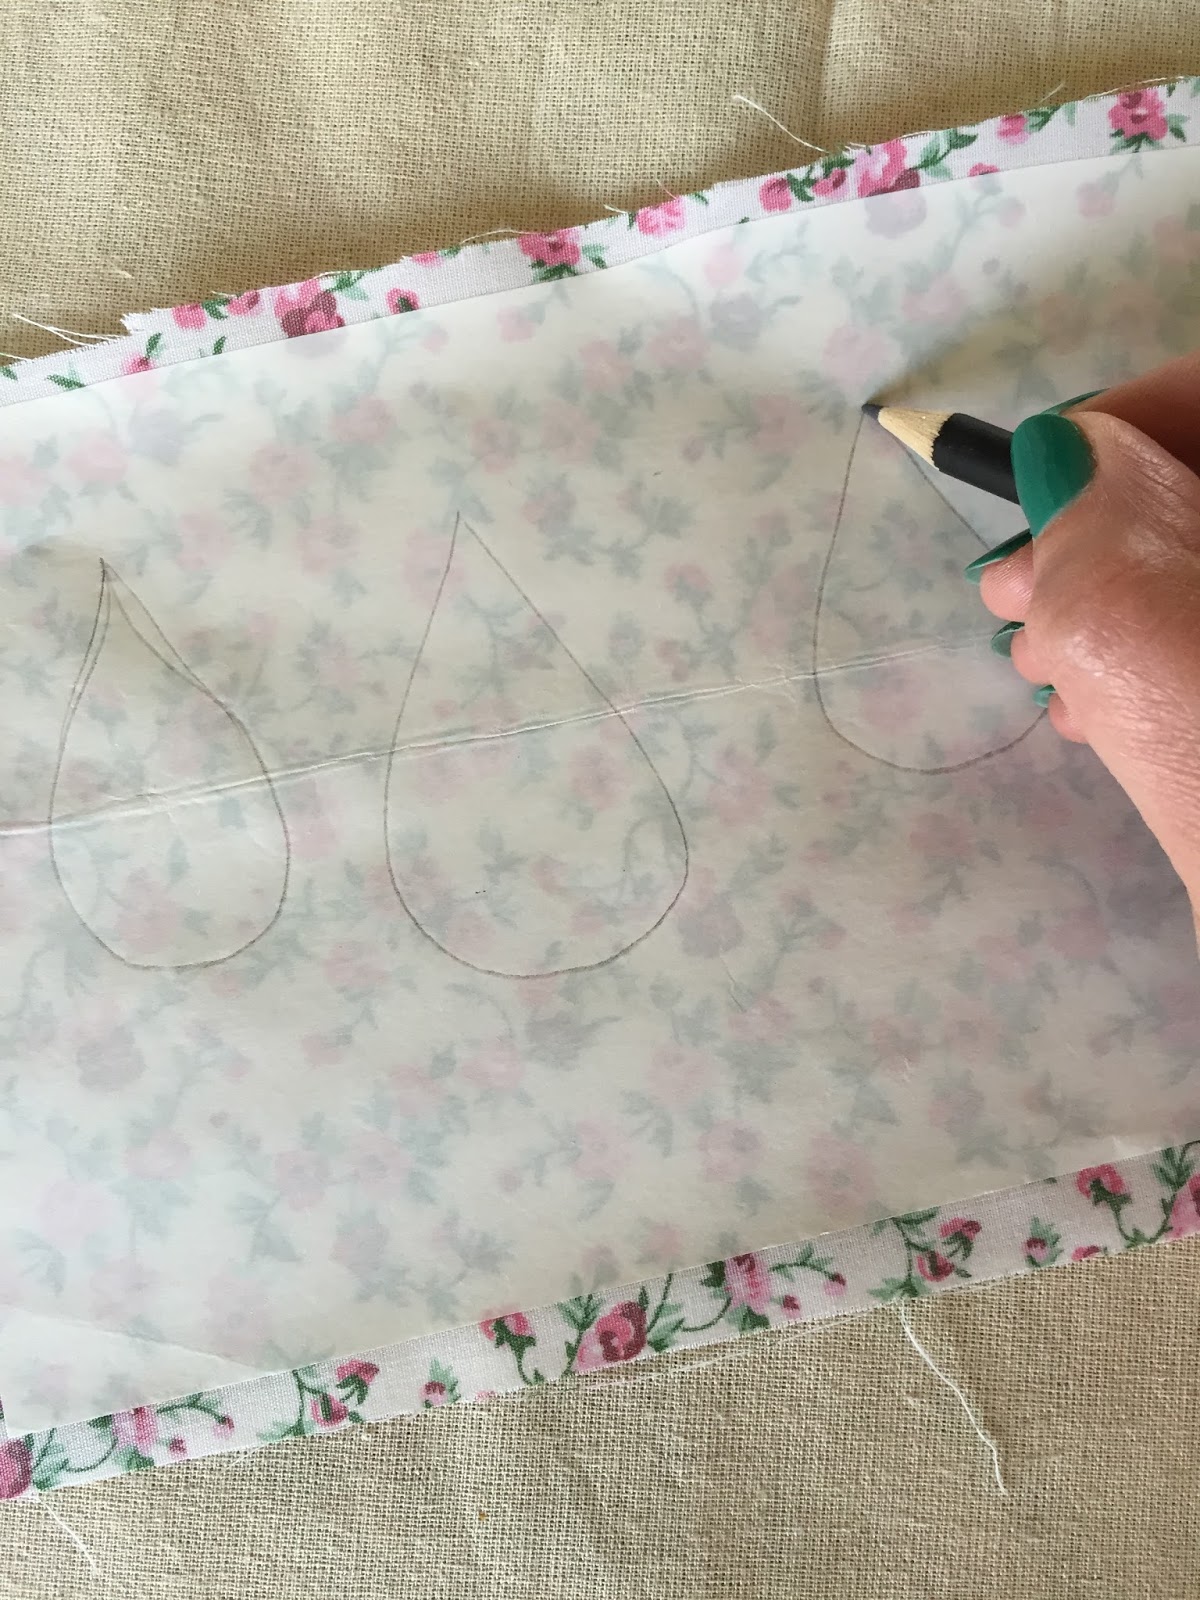
2. Pre-heat your iron to about a medium setting (no steam) - place the adhesive side of the Heat n Bond onto the back of your fabric (paper liner should be facing up as you'll need to draw on this side)

3. Place and hold your iron on the paper for a few seconds - repeat all over your fabric until bonded. Allow to cool (this won't take long)

4. Draw the shape desired with a pencil and cut

5. Decide where you want to place your shapes and peel off the paper backing - press and hold the iron for about 8 seconds on each section until bonded to the bag (this may take longer with a thicker fabric)


And there you have it - a customised canvas bag. If you want to use Heat n Bond on clothing, buy Heat n Bond Lite and use a sewing machine's "zigzag" setting to sew around the edge.
Happy Sunday guys :)
Here is just one idea for its use:
Customised Canvas Bag
For this diy, you will need...
- A canvas bag
- Heat n Bond
- Scissors
- Fabric
- Pencil
- Iron
2. Pre-heat your iron to about a medium setting (no steam) - place the adhesive side of the Heat n Bond onto the back of your fabric (paper liner should be facing up as you'll need to draw on this side)

3. Place and hold your iron on the paper for a few seconds - repeat all over your fabric until bonded. Allow to cool (this won't take long)

4. Draw the shape desired with a pencil and cut
5. Decide where you want to place your shapes and peel off the paper backing - press and hold the iron for about 8 seconds on each section until bonded to the bag (this may take longer with a thicker fabric)


And there you have it - a customised canvas bag. If you want to use Heat n Bond on clothing, buy Heat n Bond Lite and use a sewing machine's "zigzag" setting to sew around the edge.
Happy Sunday guys :)
No comments:
Post a Comment